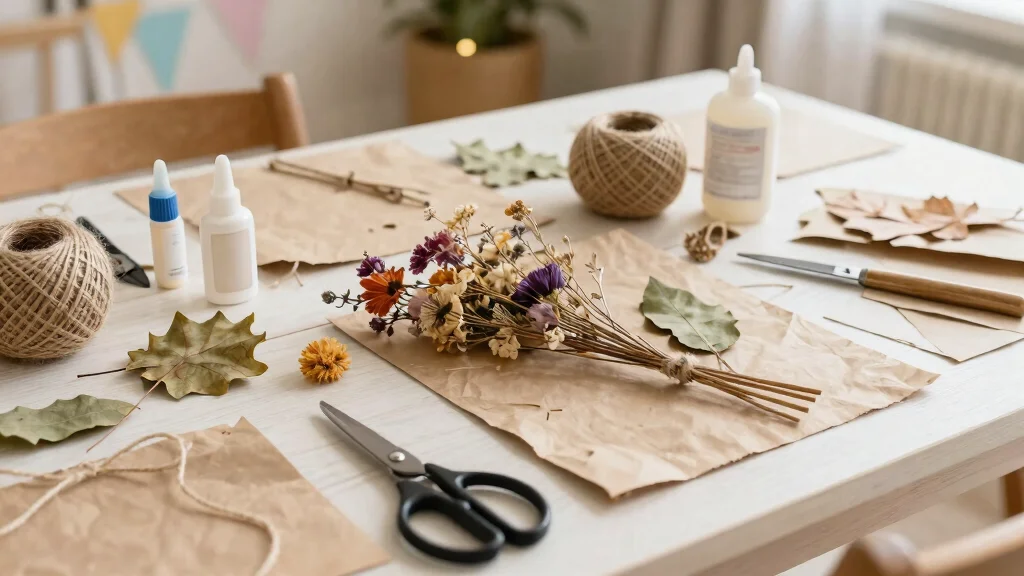
The holiday season stirs up a special kind of nostalgia, doesn’t it? You can almost feel the warmth of family gatherings, the twinkling lights, and the scent of festive treats wafting through the air. With every ornament hung on the tree, we weave together memories that last a lifetime. This year, why not add a personal touch to your decor? I created this post to share my favorite seasonal DIY decorations that can elevate your space and impress your guests, all while being super easy to make.
If you love easy crafts and festive ideas but are short on time, this post is just for you. Whether you’re entertaining friends, decorating your home, or simply indulging your creative side, these ornaments are designed for everyone. They require minimal materials, and you can whip them up in under an hour! Picture your loved ones admiring your handmade creations as they admire your holiday spirit.
I pulled together 20 fun and simple ornament ideas that are sure to spark your creativity and bring a smile to your face. From glittery pinecones to personalized photo ornaments, you’ll find something that suits your style and decor. So, roll up your sleeves and let’s get crafting!
Key Takeaways
– This post features 20 easy seasonal DIY decorations that can be made in under an hour, perfect for busy crafters.
– Each ornament idea uses simple materials, making it accessible for all skill levels.
– You’ll find a mix of traditional and modern ornament styles to fit any holiday theme.
– These crafts not only beautify your home but also create lasting memories with family and friends.
– Personalization options in some ideas allow you to tailor your ornaments to reflect your unique style.
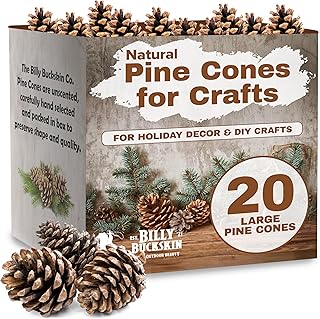
1. Glittery Pinecone Ornaments
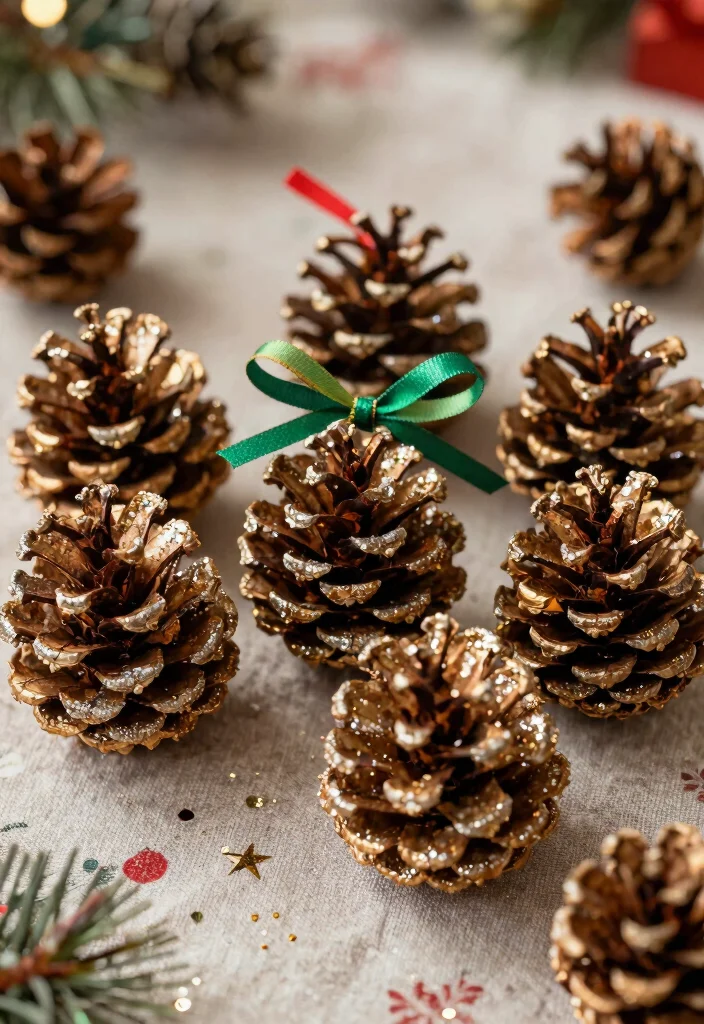
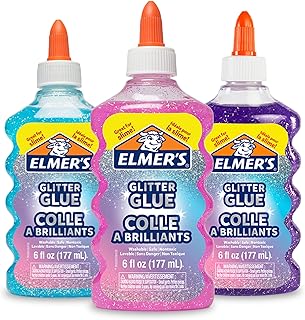
Embrace nature indoors with glittery pinecone ornaments! This delightful craft brings the beauty of the outdoors into your holiday decor while adding a charming sparkle. Picture pinecones gathered from your backyard, transformed into festive treasures with just a sprinkle of glitter and a touch of glue. Use earthy tones like gold or silver for a classic feel, or opt for vibrant reds and blues to make a bold statement.
To create these ornaments, you can easily source pinecones from local parks or your yard, making this a budget-friendly project. Once prepared, these stunning decorations not only adorn your tree but also become thoughtful gifts for friends and family.
Consider these essential steps for crafting your pinecone ornaments:
– Apply glue to the tips of the pinecone scales.
– Sprinkle glitter in festive colors while the glue is wet.
– Attach a ribbon loop for easy hanging.
– Let them dry completely before displaying.
These ornaments not only catch the light but also bring a rustic, handmade charm to your holiday celebrations. The combination of natural textures and sparkling finishes elevates your decor beautifully.
Glittery pinecone ornaments are a love letter to seasonal DIY decorations—easy, affordable, and wildly festive. Gather pinecones, a sprinkle of glitter, and quick glue, and you’ve got a sparkly centerpiece in under an hour. Your guests will think you DIY’d for days!
Glittery Pinecone Ornaments
Editor’s Choice


2. Colorful Paper Snowflakes
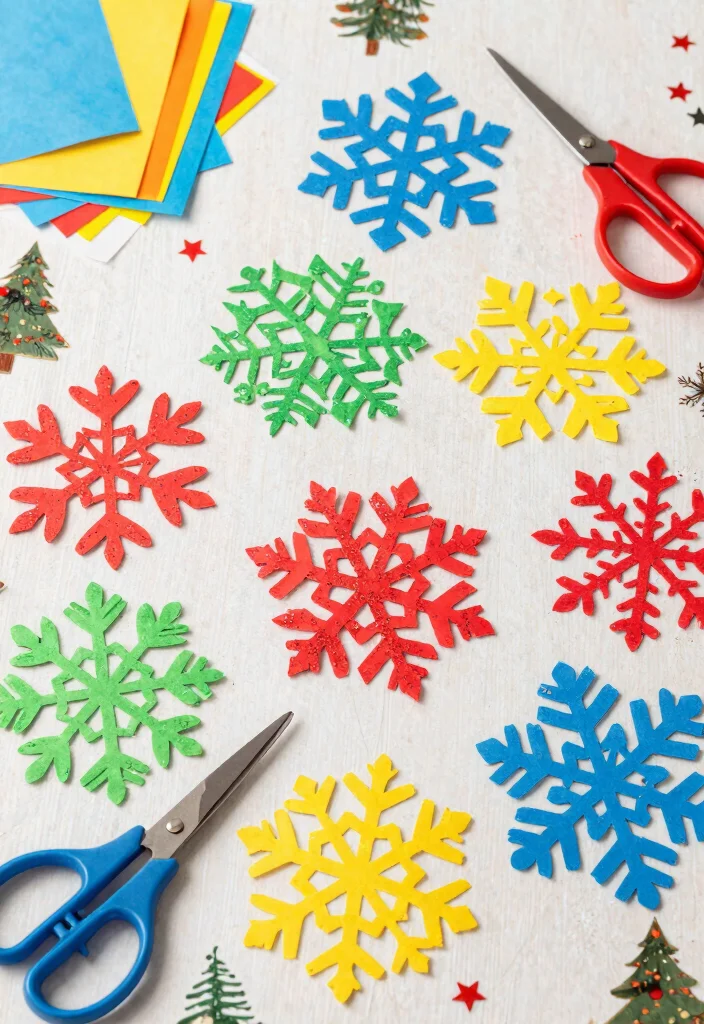
Get creative with colorful paper snowflakes that capture the whimsy of winter! This simple yet engaging activity is perfect for all ages and can turn into a cherished family tradition. With just colorful origami paper, scissors, and a bit of creativity, you can craft unique snowflakes that brighten your home during the holidays.
Start by cutting your paper into squares, folding them into quarters, and snipping shapes along the edges. When you unfold your paper, you’ll unveil intricate snowflake designs that can be enhanced with a sprinkling of glitter. These versatile creations can also double as gift tags or festive wreath accents, adding a personal touch to your decorations.
Here’s how to make the most of your paper snowflake project:
– Cut colorful paper into 6-inch squares.
– Fold each square into quarters for intricate designs.
– Use scissors to cut shapes along the folded edges.
– Unfold to reveal beautiful snowflakes.
– Decorate with glitter for a sparkling effect.
These charming snowflakes not only add a splash of color to your decor but also bring a sense of joy and creativity to your holiday season.
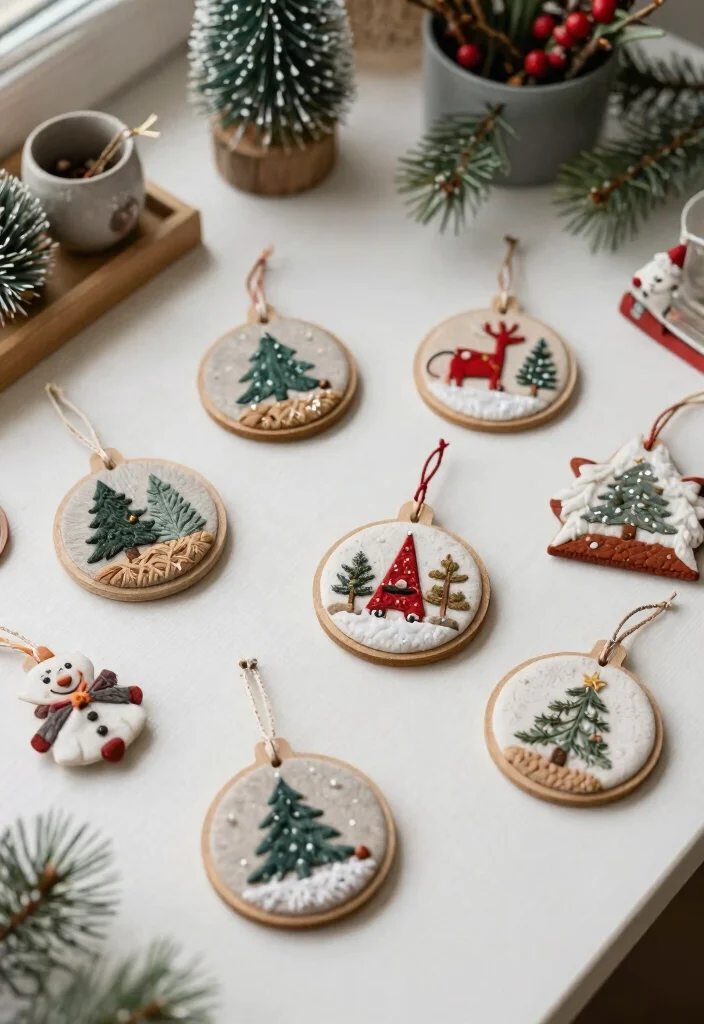
3. Festive Felt Ornaments
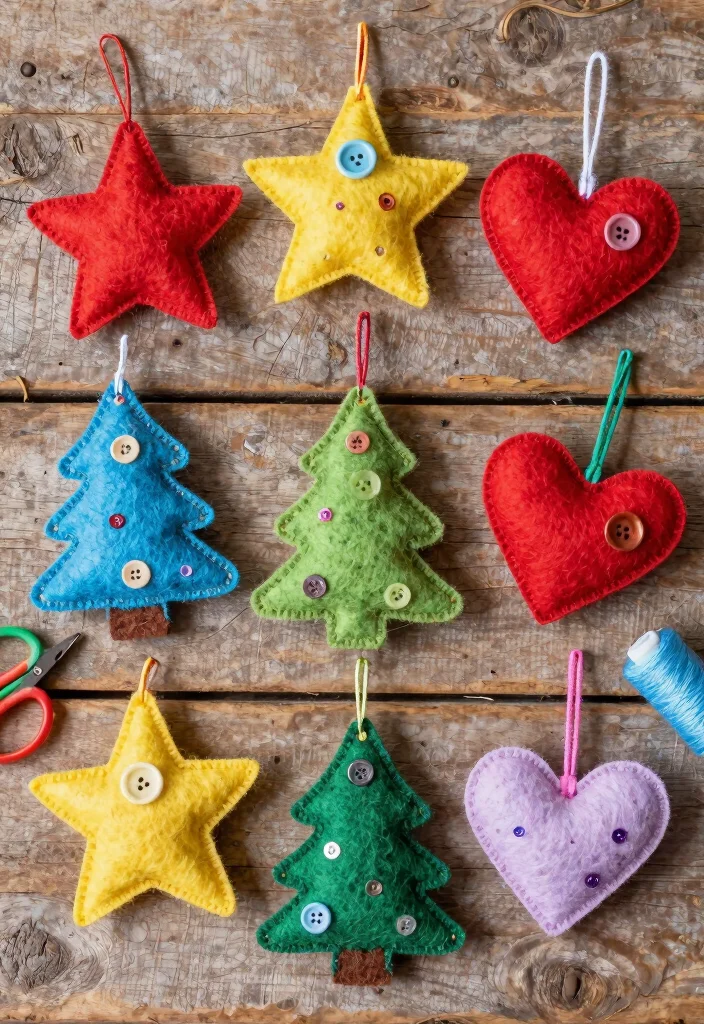
Bring warmth to your holiday decor with festive felt ornaments! This classic craft is both simple and durable, allowing you to create adorable designs like stars, trees, and hearts for your tree. With just a few sheets of colorful felt, scissors, and some thread, you can craft ornaments that will be cherished for years.
Begin by cutting out your chosen shapes from felt, layering different colors for added visual interest. A simple running stitch will secure the pieces together, and a bit of cotton stuffing will give your ornaments a plush feel. Personalize them further with buttons, beads, or sequins to make each piece uniquely yours.
To get started on your felt ornaments, follow these steps:
– Cut shapes from various colors of felt.
– Layer colors to create depth in your designs.
– Sew the edges together, leaving a small opening.
– Fill with stuffing and sew closed.
– Add embellishments for a fun, personal touch.
These felt ornaments not only look delightful but also serve as lasting keepsakes that enhance the warmth and charm of your holiday decor.
Difficulty Rating & Requirements
Overall Difficulty Rating: Easy
Creating these seasonal DIY decorations is rated as easy. These projects are designed for everyone, from complete beginners to experienced crafters looking for fun, quick ideas. You’ll find that most ornaments can be made with simple supplies and minimal skills, making them accessible for all ages.
Time Estimate:
⏱ Estimated time: 30 minutes to 1 hour
Most of the projects can be completed within this timeframe. For example:
– Preparation: 10-15 minutes to gather materials and set up your workspace.
– Crafting: 20-40 minutes to assemble your ornaments, depending on the complexity.
– Drying/Finishing: 5-10 minutes for any glue or paint to dry, if applicable.
Skill Requirements:
– Required skills: Basic cutting, gluing, and some creativity.
– Beginner-friendly: Yes! These projects are perfect for beginners who want to dive into crafting.
– Skills that can be learned: You can easily learn skills like cutting shapes and using glue during the process. Basic crafting knowledge is helpful but not necessary.
Tools & Materials Needed:
🧰 Essential items checklist:
– Scissors (Required)
– Glue (Required)
– String or ribbon (Required)
– Decorative embellishments like glitter or beads (Optional)
– Cardstock or felt (Required, depending on the project)
– Paintbrushes (Optional, for specific ornaments)
– Mason jars or lids (Optional, for jar-themed projects)
– Natural elements like pinecones or dried fruit (Optional, if you choose nature-inspired ornaments)
Step-by-Step Overview:
1. Gather Materials (10-15 minutes): Collect all necessary supplies based on the projects you choose. Organizing everything ahead of time speeds up the crafting process.
2. Create Ornaments (20-40 minutes): Follow the instructions for your selected projects, whether it’s cutting out shapes, gluing elements together, or adding decorative touches. Aim for one or two ornaments in this session to keep it manageable.
3. Drying Time (5-10 minutes): If your ornaments involve glue or paint, give them a few moments to set. Use this time to clean up your workspace or plan your next crafting session.
Cost Comparison:
Professional vs DIY: Creating your own ornaments can cost anywhere from $5 to $30, depending on what materials you already own. Buying pre-made decorations often starts at $10 and can quickly rise to $50 or more for unique or artisan pieces. If you’re looking to save money or enjoy the process of creating personalized decor, these DIY ornaments are a great choice. If you want professional-looking results without the effort, hiring a local artist or decorator can easily cost you $100 or more, especially around the holidays.
By assessing your skills and gathering the right materials, you can enjoy crafting these easy seasonal DIY decorations with confidence. Whether you’re making them for your home or as gifts, these ornaments are sure to impress your guests!
4. DIY Edible Ornaments
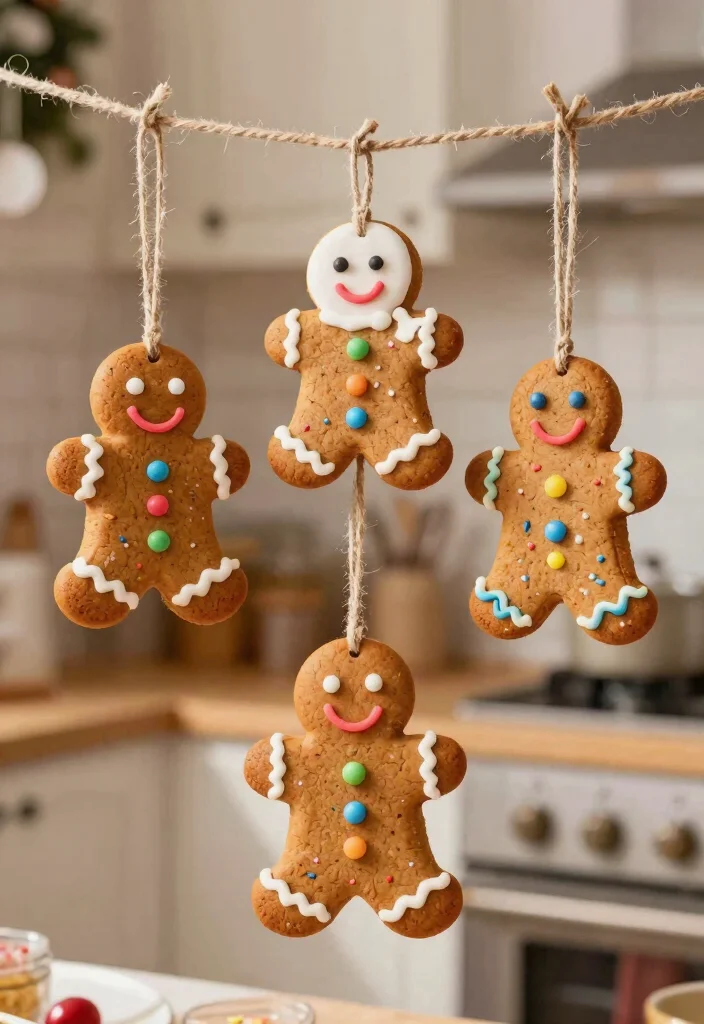
Add a delicious twist to your holiday decor with DIY edible ornaments! These fun creations serve as both festive decorations and tasty snacks, delighting guests of all ages. Use simple ingredients like salt dough or gingerbread to shape charming ornaments that you can hang on your tree.
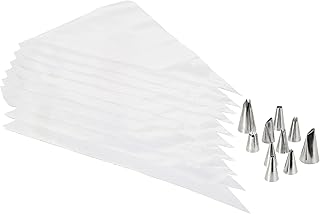
For salt dough, mix flour, salt, and water to form a pliable dough. Roll it out and cut out festive designs, using a straw to make holes for hanging. After baking, decorate with icing or edible glitter for a sweet finish. Just be prepared—these delightful ornaments are sure to disappear quickly!
Here’s how to create your own edible ornaments:
– Mix 1 cup of flour, 1/2 cup of salt, and 1/2 cup of water.
– Roll out the dough and cut shapes with cookie cutters.
– Bake at a low temperature until hard.
– Once cooled, decorate with icing.
– Hang using ribbon or string.
These edible ornaments not only add a playful touch to your decor but also bring a sense of fun and nostalgia to your holiday celebrations.
DIY Edible Ornaments
Editor’s Choice


📹 Related Video: Edible Christmas Bauble Cake Toppers Tutorial – Geometric / Glitter / Wafer Paper Origami Sphere
5. Snowy Mason Jar Lid Ornaments
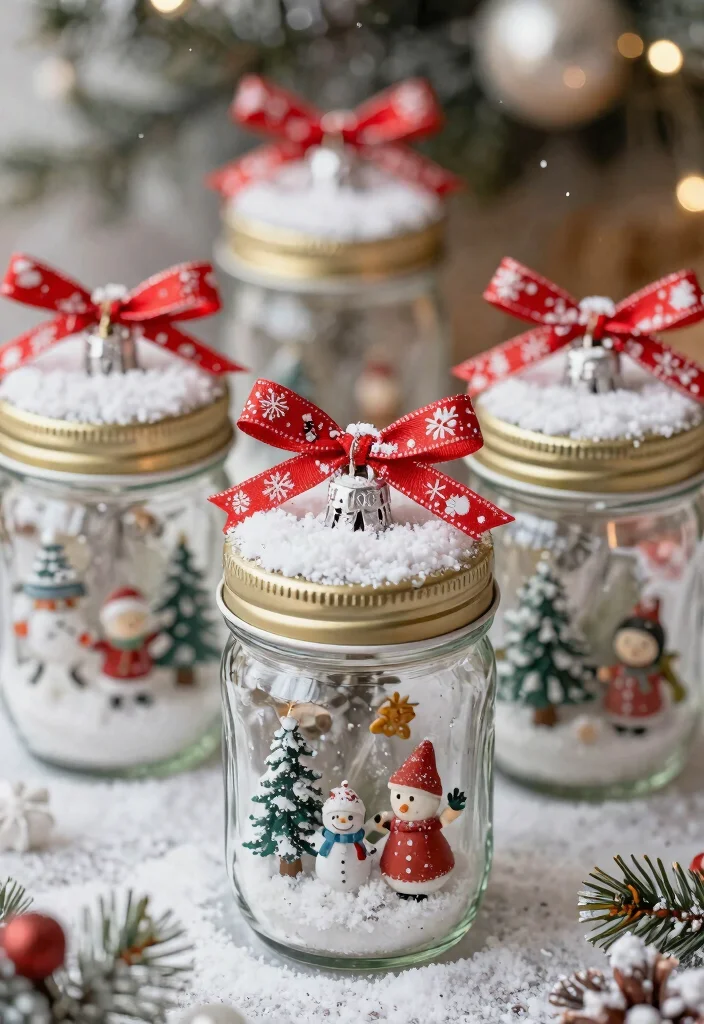
Transform everyday mason jar lids into enchanting snowy ornaments! This quick and easy project uses materials you likely already have at home, making it a perfect last-minute craft. Start by painting the lids with white or light blue paint to mimic a frosty winter effect.
Once dry, fill the lids with faux snow or glitter and add tiny figurines or cherished photos to personalize them. Seal the lid and attach a festive ribbon for a unique ornament that captures the magic of winter. These ornaments also make wonderful gifts filled with memories!
To create your snowy mason jar lid ornaments, follow these steps:
– Paint the mason jar lids and let them dry completely.
– Fill the lids with faux snow or glitter.
– Add figurines or small photos for a personal touch.
– Seal with the lid and attach a ribbon.
– Hang on the tree or gift to friends.
These charming ornaments combine creativity and sentiment, making them a delightful addition to your holiday decor.
6. Button Tree Ornaments
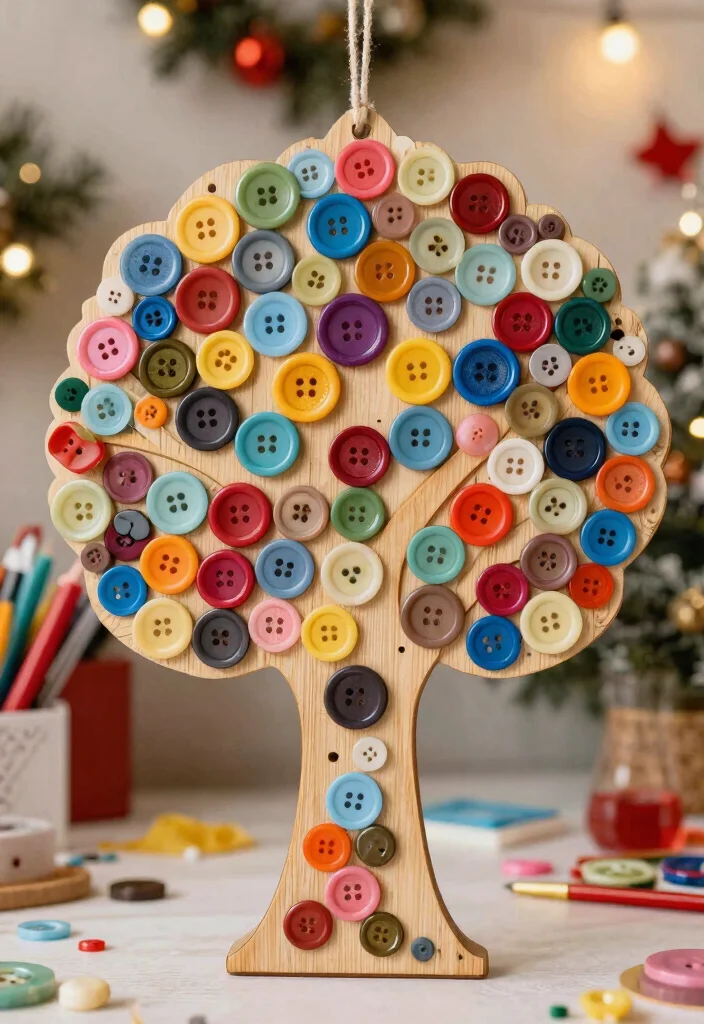
Revitalize your holiday decor with colorful button tree ornaments that burst with personality! Gather buttons of various sizes and hues, then glue them onto a cardboard or wooden cutout shaped like a tree.
Create patterns, such as a color gradient, to make your ornament visually striking. Finish it off with a sturdy ribbon loop for easy hanging. These unique ornaments not only brighten your tree but also make fantastic gifts for fellow crafters!
Here’s how to craft your button tree ornaments:
– Gather an assortment of buttons in different sizes and colors.
– Glue the buttons onto the cutout in a fun design.
– Allow to dry completely before hanging.
– Attach a ribbon loop for easy display.
These whimsical ornaments add vibrant color and creativity to your holiday festivities, making your tree truly one-of-a-kind.
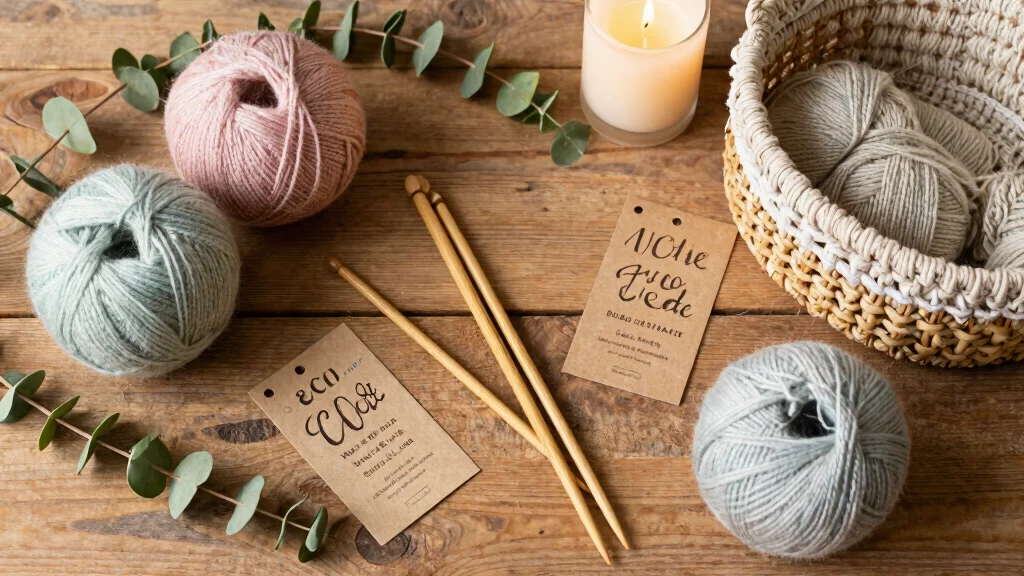
7. Twine-Wrapped Bulbs
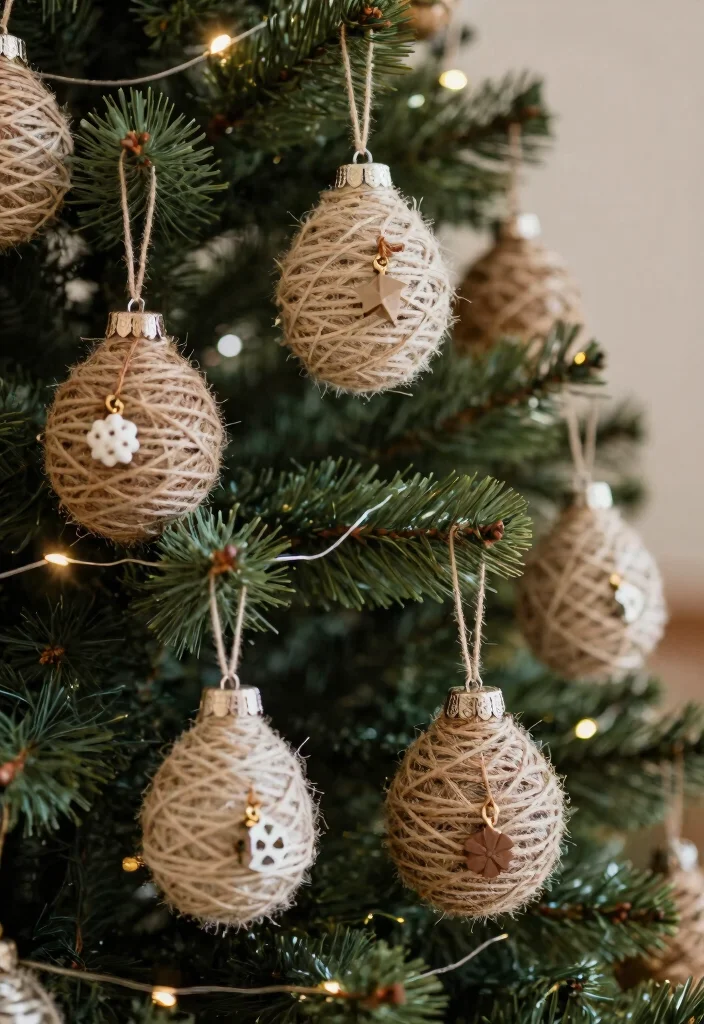
Infuse rustic charm into your seasonal decor with twine-wrapped bulbs! This straightforward project uses simple glass or plastic ornaments that you can find at craft stores. Begin by wrapping twine around each ornament, securing it with glue as you go to keep it in place.
You can experiment with different twine thicknesses or embellish with dried flowers or small charms for a personalized touch. Hang these cozy bulbs on your tree, and enjoy the warm, farmhouse feel they bring to your home.
Follow these steps to create twine-wrapped bulbs:
– Start wrapping twine around the ornament, adding glue as needed.
– Continue wrapping until the ornament is fully covered.
– Attach any embellishments you desire.
– Allow to dry completely before hanging.
These twine-wrapped bulbs not only enhance your holiday decor but also embody a comforting, handcrafted aesthetic.
8. Miniature Gift Ornaments

Spread holiday cheer with adorable miniature gift ornaments that look precious on your tree! Use small boxes or cardstock to create tiny wrapped gifts, adding a delightful touch to your decorations. Wrap them in colorful paper and secure with ribbons for that finishing touch.
Personalize your ornaments by adding tags with sweet messages or using stickers for an extra flair. These charming creations also make lovely table decorations during holiday gatherings.
Here’s how to bring your miniature gift ornaments to life:
– Create small gift boxes from cardstock or use pre-made boxes.
– Wrap in festive paper, securing with tape.
– Tie a bow with ribbon on top.
– Add tags or stickers for personal charm.
These miniature gifts not only look adorable on your tree but also bring a sense of joy and celebration to your holiday decor.
You might also like

9. Nature-Inspired Dried Citrus Ornaments
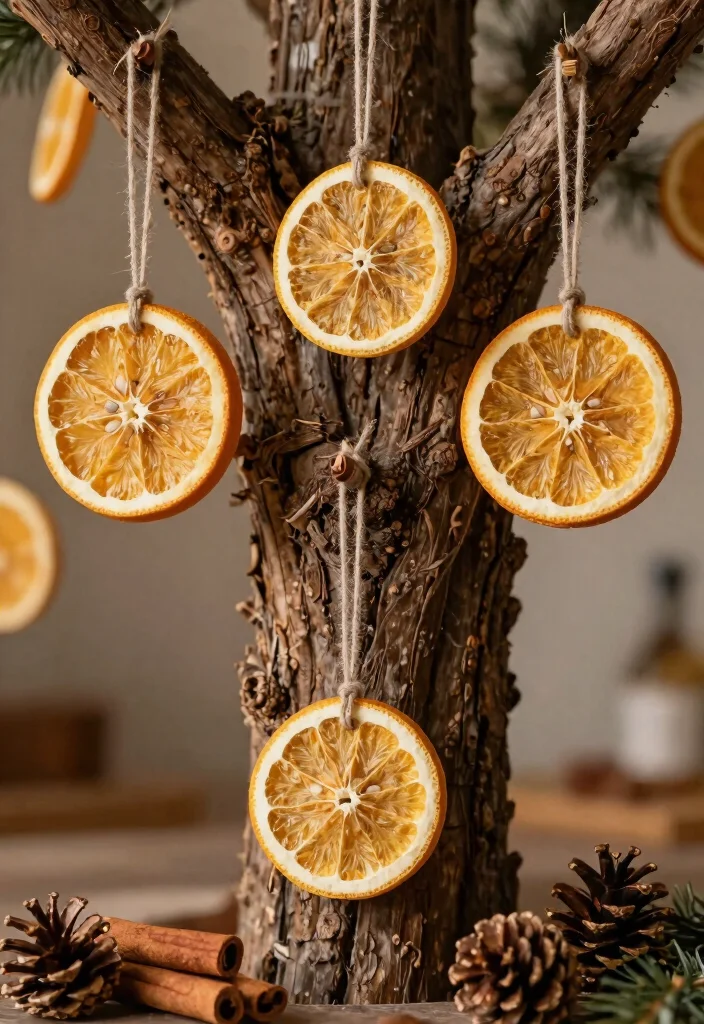
Bring a slice of nature into your home with delightful dried citrus ornaments! They not only add a rustic touch but also fill the air with a refreshing scent. Start by slicing oranges, lemons, or limes into thin rounds and drying them on a baking sheet at a low temperature.
Once the slices are dehydrated, thread a string through each one for hanging. Combine them with cinnamon sticks or pinecones for a fully festive look. These ornaments are perfect for adding a charming and aromatic element to your holiday decor.
To make your nature-inspired ornaments, follow these steps:
– Slice citrus fruits into thin rounds.
– Bake at a low temperature until dried out.
– Thread string through each slice for hanging.
These fragrant ornaments not only enhance your tree but also create a welcoming atmosphere filled with the essence of the season.
10. Personalized Photo Ornaments
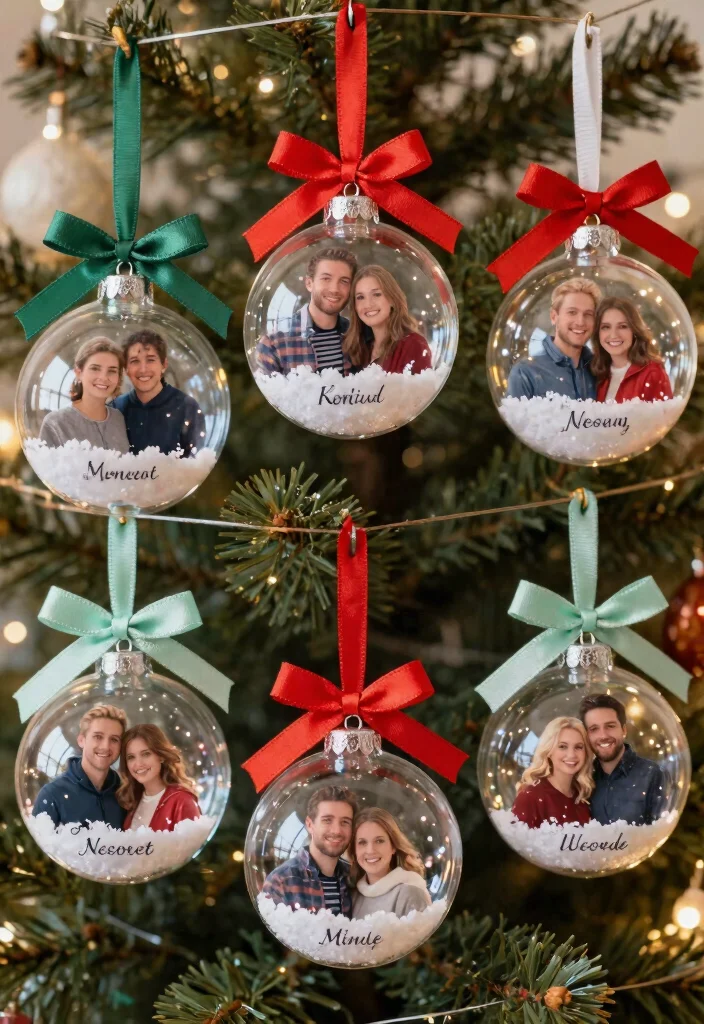
Capture special memories with personalized photo ornaments that bring a sentimental touch to your holiday decor! These keepsakes are perfect gifts for family and friends, allowing you to celebrate cherished moments throughout the year. Begin by selecting your favorite holiday photos, trimming them to fit inside clear plastic ornaments.
Secure the pictures with double-sided tape and enhance the look by filling the ornament with faux snow or glitter. Add a ribbon loop for hanging, creating a unique ornament that sparks joy every time it’s seen!
Here’s how to craft your personalized photo ornaments:
– Cut photos to fit inside the ornaments.
– Use tape to secure the photos in place.
– Fill with faux snow or glitter if desired.
– Add a ribbon for easy hanging.
These personalized ornaments not only tell your story but also add a heartfelt touch to your holiday celebrations.
Personalized Photo Ornaments
Editor’s Choice


11. Beaded Snowman Ornaments
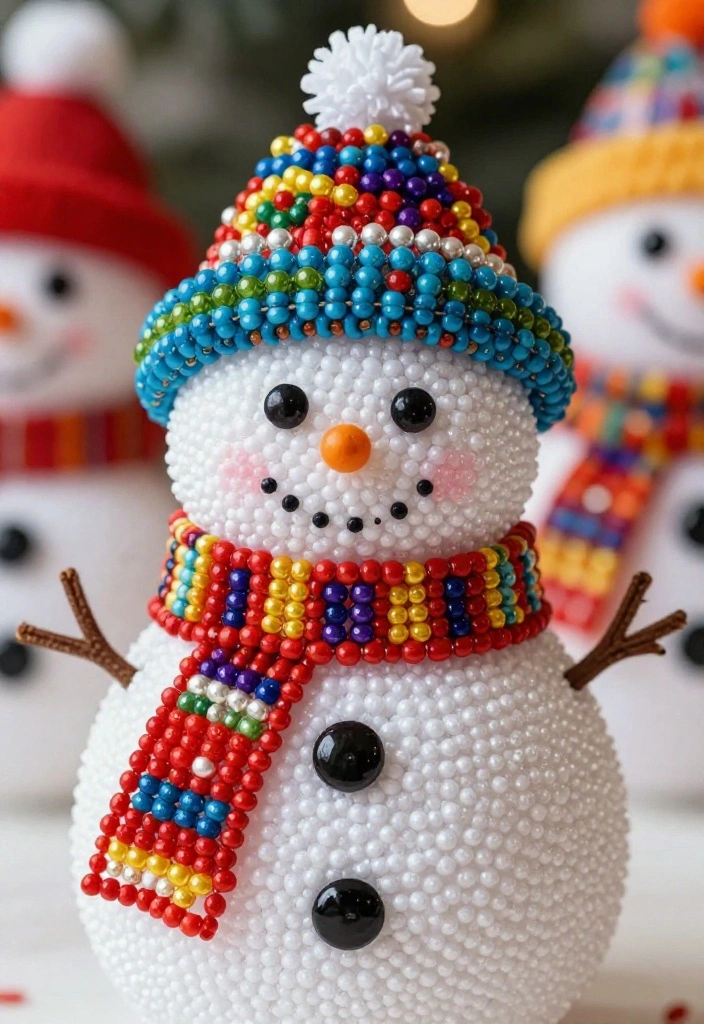
Unleash your creativity with beaded snowman ornaments that are both cheerful and festive! Using white and orange beads, you can create adorable snowmen that will charm everyone who sees them. Start by shaping a pipe cleaner into a snowman form, then string the beads onto the pipe cleaner to bring your snowman to life.
Add small fabric scraps or felt to create hats and scarves, giving each snowman its own personality. These ornaments are perfect for kids to make and share with friends!
To create your beaded snowman ornaments, follow these steps:
– Shape a pipe cleaner into a snowman form.
– String beads onto the pipe cleaner to create the snowman.
– Attach small accessories for decoration.
These delightful ornaments not only brighten your tree but also spread joy and creativity during the holiday season.
12. Felt Animal Ornaments
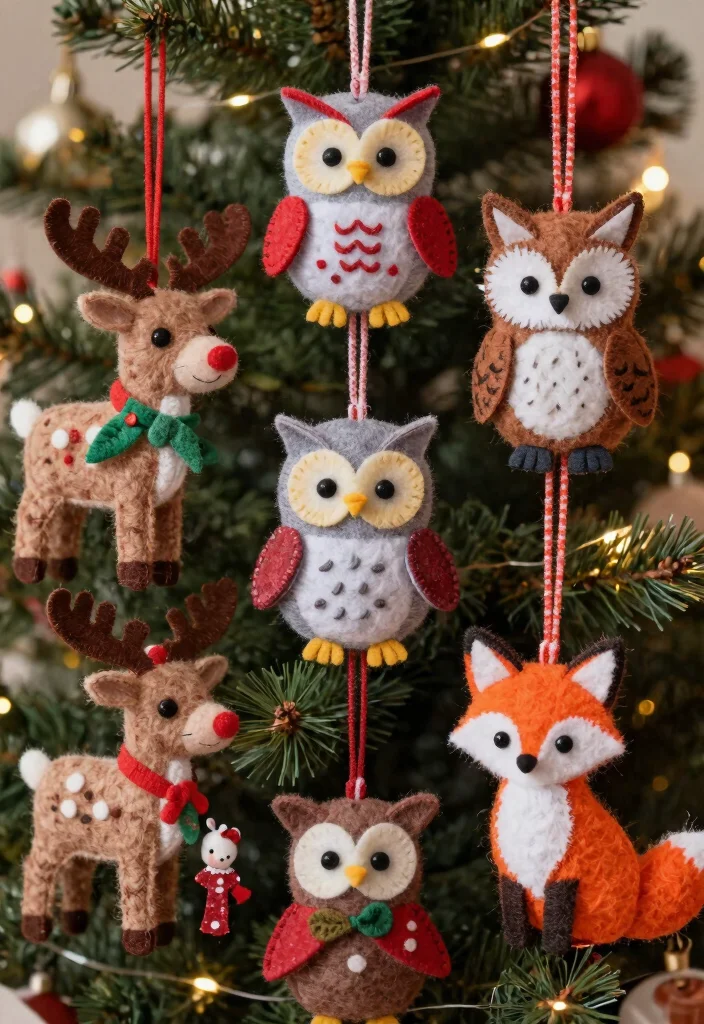
Bring a whimsical forest to your tree with felt animal ornaments! Using colorful felt, you can craft adorable creatures like reindeer, owls, and foxes that will add charm to your holiday decor. Start by cutting out shapes from the felt for your chosen animal, then sew or glue the pieces together.
Add embellishments such as buttons for eyes or stitching to create texture, allowing you to personalize each ornament. These felt creations are perfect for an animal-themed tree or as fun additions to your holiday gift wrapping!
Here’s how to make your felt animal ornaments:
– Cut out shapes for your chosen animal from felt.
– Sew or glue the pieces together securely.
– Add embellishments for extra cuteness.
– Attach a loop for hanging.
These delightful felt ornaments not only enhance your decor but also bring a playful spirit to your holiday celebrations.
13. Vintage Spoon Ornaments
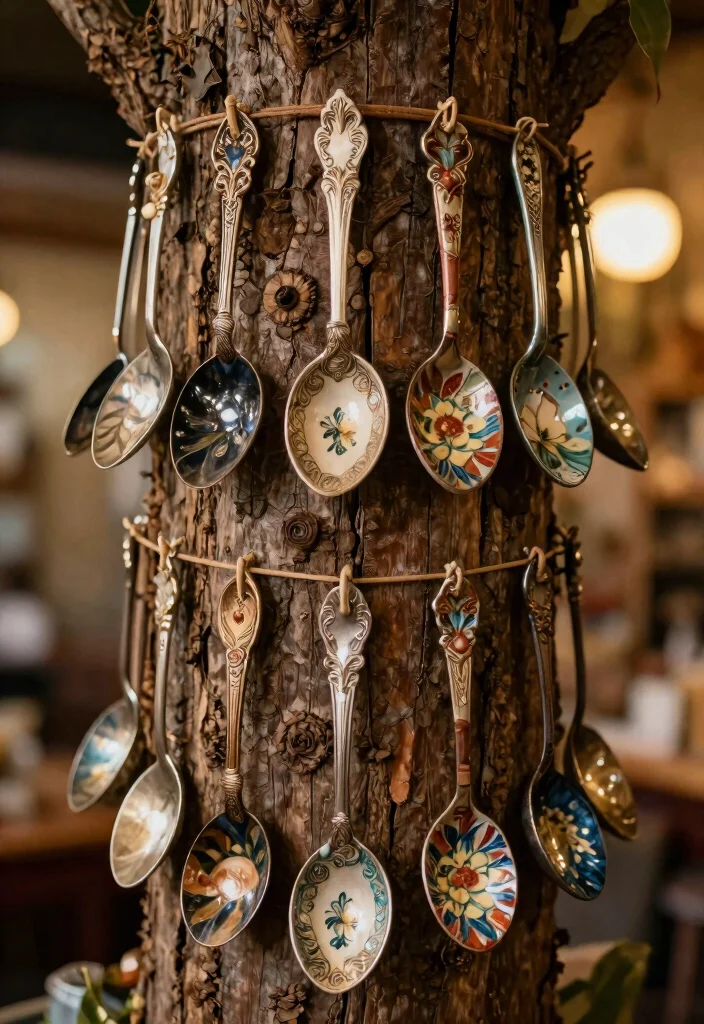
Revive old utensils by turning vintage spoons into charming ornaments! This quirky project adds a rustic feel to your holiday decor. Start by sourcing old spoons from thrift stores or your kitchen, then gently flatten each one with a hammer.
Decorate your spoons with seasonal designs using paint or permanent markers, and finish with a ribbon for hanging. Each spoon tells a story and brings a unique touch to your holiday festivities!
Follow these steps to create your vintage spoon ornaments:
– Flatten spoons gently with a hammer.
– Paint or decorate with festive designs.
– Allow to dry if using paint.
– Attach a ribbon for hanging.
These ornaments not only enhance your tree but also bring a touch of nostalgia and creativity to your holiday decorations.
14. Holiday Wreath Ornaments
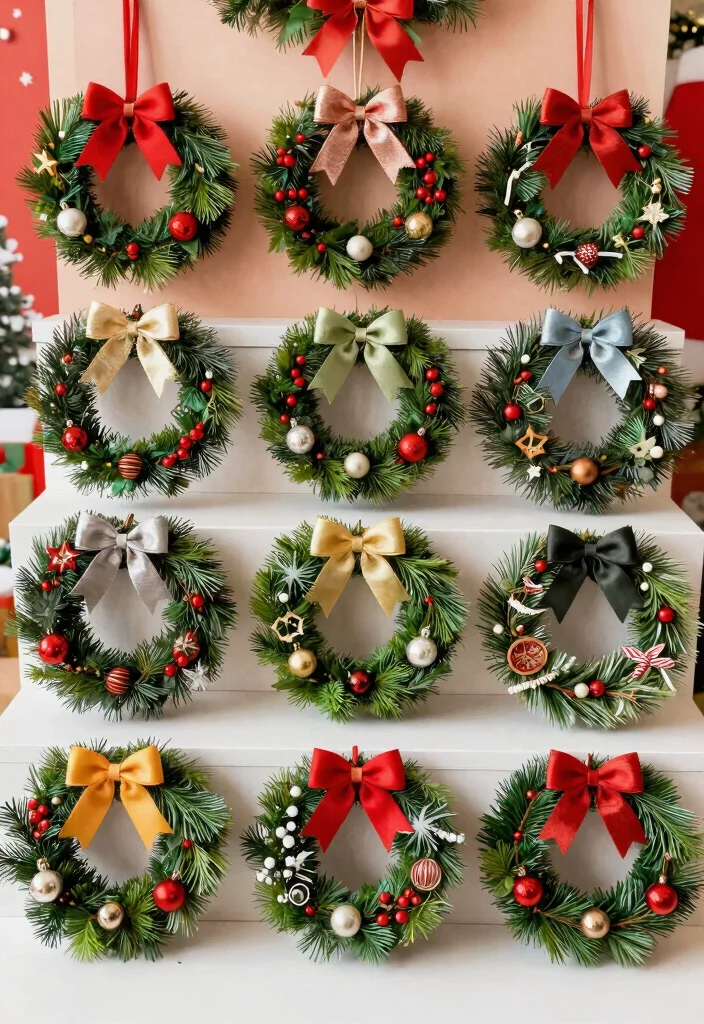
Craft adorable mini holiday wreath ornaments that add a touch of greenery to your tree! Using floral wire and faux greenery, you can create tiny wreaths that capture the spirit of the season. Start by cutting floral wire and bending it into a circular shape.
Attach faux foliage or evergreen sprigs using floral tape or glue, adding tiny ornaments or bows for embellishment. These delightful mini wreaths can also serve as lovely place settings or gift toppers!
To make your holiday wreath ornaments, follow these steps:
– Cut floral wire into a circle.
– Attach faux greenery with tape or glue.
– Add embellishments as desired.
– Attach a loop for easy hanging.
These charming wreaths not only brighten your tree but also bring a festive touch to your holiday celebrations.
15. Fabric Scrap Stars
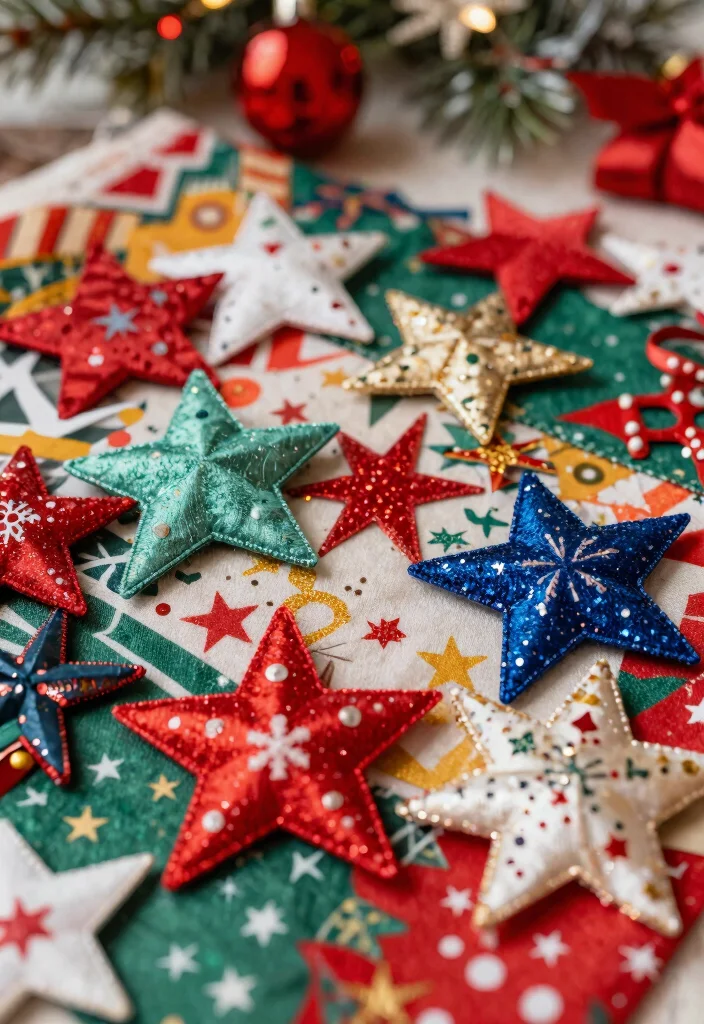
Create stunning star ornaments that twinkle on your tree using fabric scraps! All you need are small pieces of fabric and some stuffing. Cut out star shapes from your fabric, then sew or glue the edges together, leaving a small opening.
Lightly fill the stars with stuffing before sewing shut, and add glitter to the edges or attach ribbons for hanging. These stars provide a charming touch and are a great way to use up leftover fabric!
Here’s how to make your fabric scrap stars:
– Cut out star shapes from fabric scraps.
– Sew or glue edges, leaving an opening.
– Fill with stuffing and sew shut.
– Add glitter if desired.
These delightful fabric stars not only enhance your tree but also add a personal touch to your holiday decor.
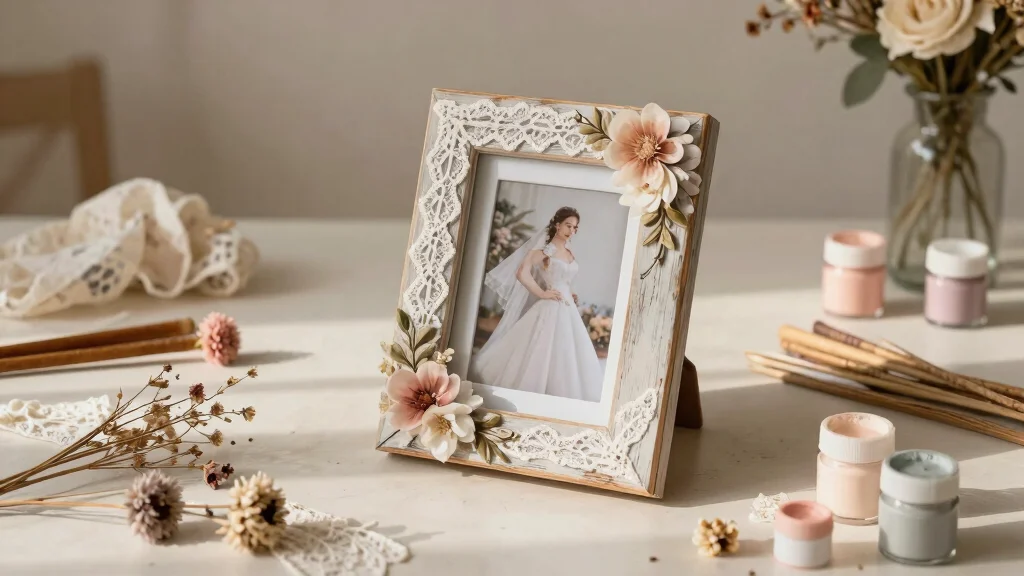
16. Photo Frame Ornaments
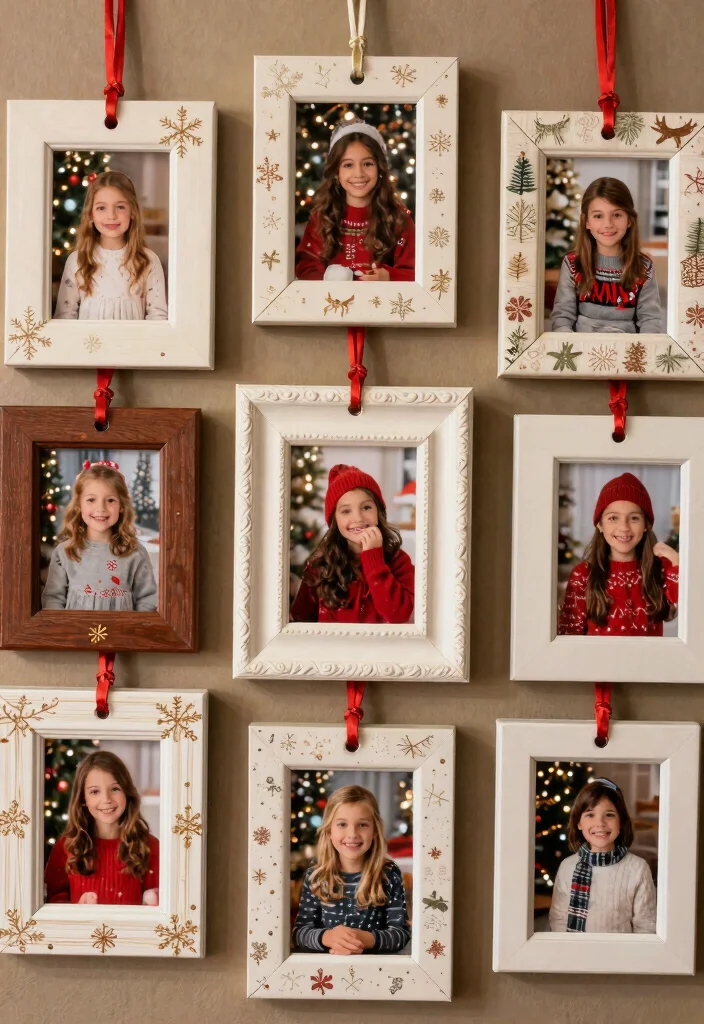
Combine cherished memories and holiday cheer with DIY photo frame ornaments! Use small wooden frames or craft your own from cardstock, then decorate them with paint, glitter, or holiday-themed stickers. Insert your favorite holiday photos, creating a sentimental keepsake that friends and family will adore!
Attach a ribbon or twine for easy hanging, allowing you to showcase your memories throughout the year. These frames can be customized for various occasions, keeping the good times close at hand.
To create your photo frame ornaments, follow these steps:
– Decorate photo frames with paint or stickers.
– Insert your favorite holiday photos.
– Attach ribbon for hanging.
These heartfelt ornaments not only embellish your tree but also celebrate the special moments shared with loved ones.
17. Glittered Star Ornaments
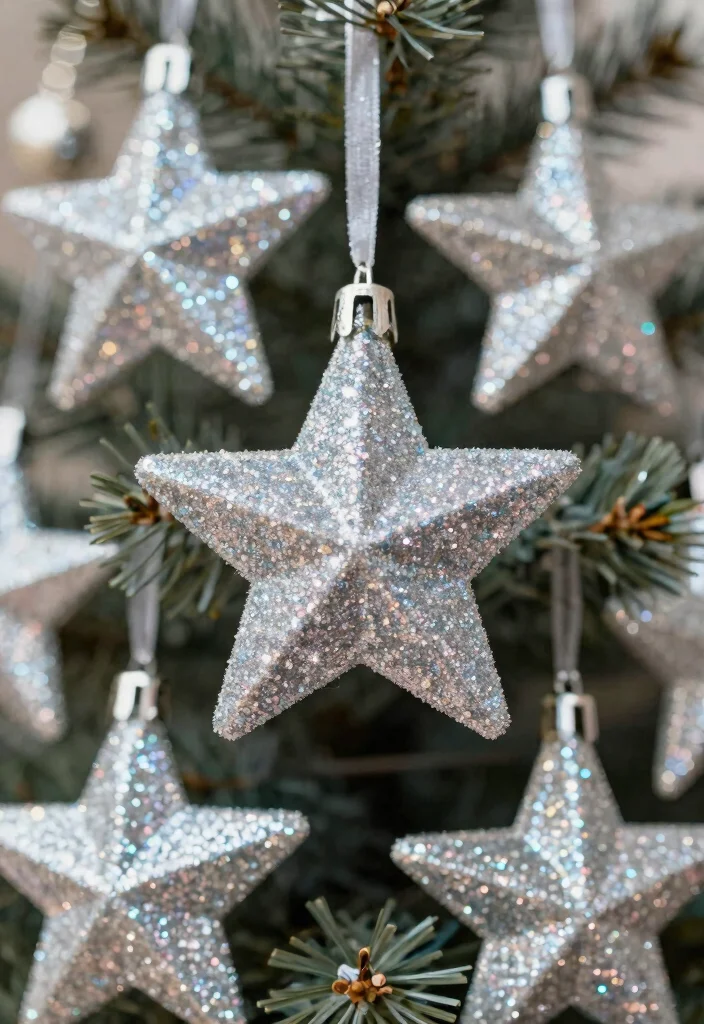
Create dazzling glittered star ornaments that will shine brightly on your tree! Start by cutting star shapes from cardstock, then cover them with glue. Sprinkle glitter over the wet glue, allowing the ornaments to dry completely.
Experiment with different types of glitter for unique effects, such as coarse glitter for texture or fine glitter for a smooth finish. Attach a loop with ribbon for a simple yet stunning ornament that captures the light beautifully!
To craft your glittered star ornaments, follow these steps:
– Cut out star shapes from cardstock.
– Apply glue to the star shapes.
– Sprinkle glitter over the glue and let dry.
– Attach a ribbon for hanging.
These glittery stars not only enhance your tree but also bring a magical sparkle to your holiday celebrations.
Crafting glittered star ornaments is the easiest way to level up your seasonal DIY decorations. When the stars catch the light, guests notice—minimize mess, shake glitter back into the jar, and finish with a ribbon loop for instant holiday sparkle.
18. Bow Ornaments
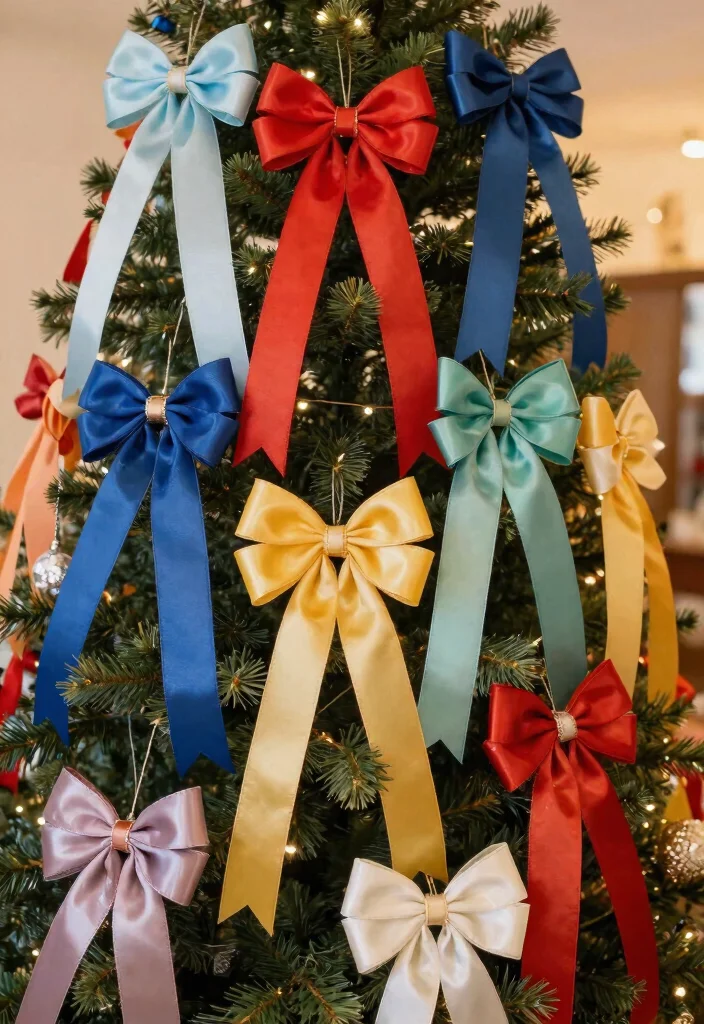
Add a touch of elegance to your decor with simple yet charming bow ornaments! Gather ribbons in various colors and patterns, cutting them to your desired length. Tie them into delightful bows and attach them to your tree with wire or string.
Combine multiple ribbons for a layered look or embellish with small bells or glitter for added flair. These easy crafts are suitable for any skill level and can elevate your tree’s festive appearance in no time!
Here’s how to make your bow ornaments:
– Cut ribbons to your desired length.
– Tie into pretty bows.
– Attach to the tree with wire or string.
These delightful bows not only add charm to your tree but also celebrate the spirit of the season.
19. Paper Mache Ornaments
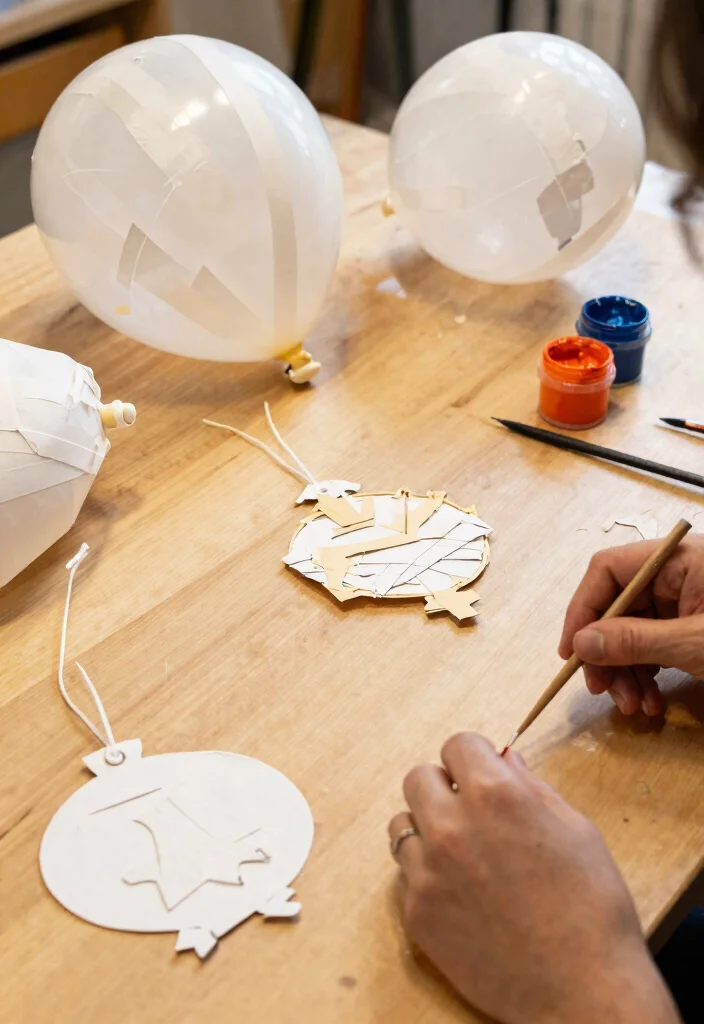
Get creative with paper mache ornaments that you can shape into anything you desire! Start by tearing newspapers into strips and mixing equal parts glue and water to create your paste. Inflate balloons for round ornaments or shape cardboard for other designs.
Apply layers of the paper strips over your form, allowing each layer to dry before adding the next. Once dried, paint your ornaments in vibrant colors or festive designs and attach a loop for hanging. These unique creations are sure to be conversation starters!
To make your paper mache ornaments, follow these steps:
– Tear newspapers into strips.
– Mix glue and water for paste.
– Apply strips to the form and let dry.
– Paint once dry and attach a loop for hanging.
These creative ornaments not only add personality to your tree but also celebrate the joy of artistic expression during the holidays.
Paper Mache Ornaments
Editor’s Choice


20. Ruffled Fabric Ornaments
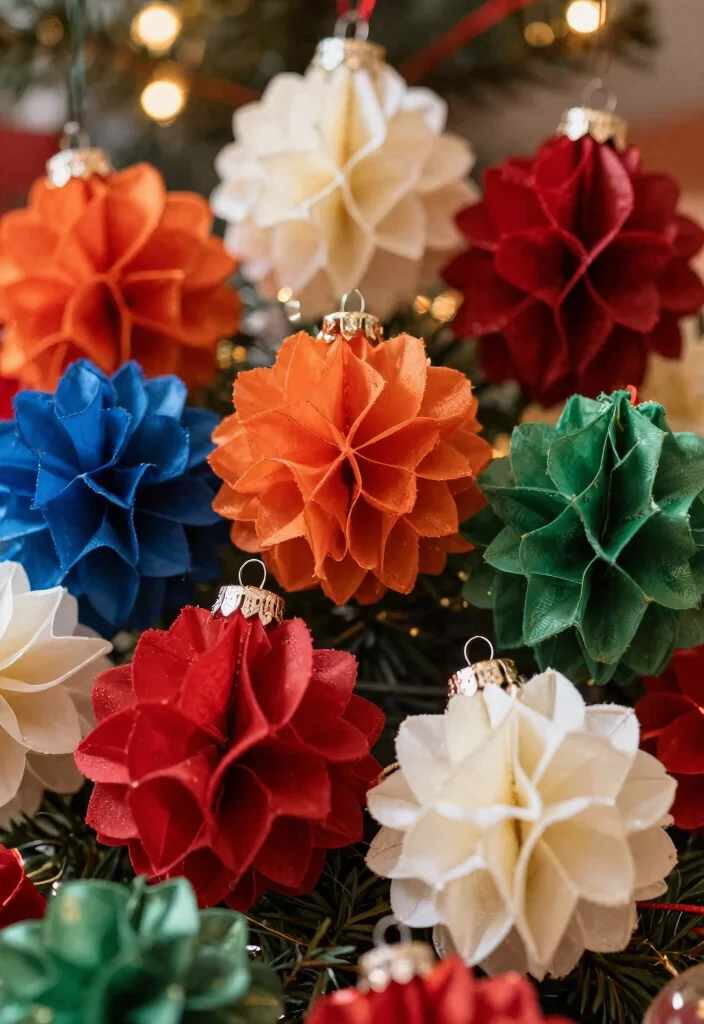
Elevate your tree’s texture and charm with delightful ruffled fabric ornaments! Cut fabric into strips and gather them to form lovely ruffles. Begin by sewing a running stitch along one edge, then pull the thread to create ruffles as you go.
Shape them into circles or stars, securing them with glue or stitching for added durability. Mixing different fabrics can create an eclectic look, or you can stick to a cohesive color scheme for a more unified design. These ornaments are an excellent way to use up fabric scraps while crafting something beautiful!
To create your ruffled fabric ornaments, follow these steps:
– Cut fabric into strips.
– Sew a running stitch along one edge.
– Pull the thread to create ruffles.
– Secure into shape with glue or stitching.
These charming ornaments not only enhance your tree but also bring a unique touch to your holiday decor.
Did you know that a 6-inch strip of fabric can make 3–4 ruffles for a single ornament? Layering different fabrics boosts texture quickly, helping you create 5–6 seasonal DIY decorations in under an hour—and still look chic.
Ruffled Fabric Ornaments
Editor’s Choice


Conclusion
Crafting seasonal DIY decorations adds a personal touch to your holiday celebrations, making them even more special. From shimmering glitter ornaments to charming felt creations, each project offers a unique way to express your creativity and love for the season.
As you dive into these easy crafts, remember that the joy of crafting comes not just from the finished product, but from the fun and laughter shared along the way. So gather your materials, invite your friends and family, and let the holiday crafting begin!
Note: We aim to provide accurate product links, but some may occasionally expire or become unavailable. If this happens, please search directly on Amazon for the product or a suitable alternative.
This post contains Amazon affiliate links, meaning we may earn a small commission if you purchase through our links, at no extra cost to you.
Frequently Asked Questions
What are some easy seasonal DIY decorations you can make in under an hour?
There are plenty of quick options from the article’s 20 ideas. For example, you can craft simple paper snowflakes, tea-light lanterns, cinnamon-stick bundles, or mini wreaths using evergreen sprigs. Each project is designed to be finished in under an hour with common supplies. Gather your materials, pick a theme, and follow a fast, step-by-step plan to create seasonal DIY decorations that wow guests.
Quick tips: prep a workspace, use pre-cut shapes to save time, and let hot glue cool before hanging.
These easy crafts are perfect for last-minute decorating and deliver easy crafts that still feel festive.
What materials are commonly used for these under-hour ornaments?
Most ideas in the collection rely on inexpensive, everyday supplies like cardstock, paper, twine, ribbon, paint, glitter, glue, and scissors. You might also use salt dough, clay shapes, popsicle sticks, pinecones, or faux greenery depending on the season. Keep a compact kit handy to speed up assembly and ensure a clean finish, so you can create multiple seasonal DIY decorations in one sitting.
Pro tip: use a hot glue gun for quick bonding and pre-cut embellishments to cut down on hands-on time.
This approach makes easy crafts accessible for everyone.
Can I customize these ornaments for different holidays or festive ideas?
Absolutely. Color palettes, textures, and motifs are easily swapped to match any season. Swap red and green for Christmas, pastel tones for spring, gold and black for New Year, or leaf motifs for autumn. Use printable templates or simple silhouette shapes to tailor the look while staying under an hour.
This flexibility is what makes festive ideas shine in a small space or on a budget.
Pro tip: stash a few universal shapes (stars, circles, hearts) you can dress up with seasonal accents.
Are these projects beginner-friendly and safe to do with kids?
Yes! Most ornaments are beginner-friendly and designed for quick results. Choose simpler shapes, skip hazardous tools, and use kid-friendly glue or tape. Supervise hot glue or craft knives for younger children and let them handle decorating steps like painting, glitter, or ribbons.
With a little patience, these crafts deliver impressive results and build confidence in easy crafts for families.
How can I store and reuse these ornaments year after year?
Most DIY ornaments are designed for reuse. Store in a labeled box with tissue paper or bubble wrap to prevent crushing. Use durable finishes (sealants, clear coatings) to preserve color, and consider simple, storage-friendly shapes like flat discs or little sachets. When the season returns, you can simply unpackage and display again, giving you a quick, delightful way to refresh your seasonal DIY decorations each year.
Quick tip: group items by theme and pack with reusable hooks or ribbon for fast decorating next season.
This keeps your festive ideas fresh without extra effort.
Related Topics
seasonal DIY decorations
easy crafts
festive ideas
quick projects
holiday decor
beginner friendly
ornament making
last-minute crafts
family activities
budget friendly
crafting techniques
home decor